


.webp)


.webp)


.webp)
Transkribiere es.
Mit 99 % Genauigkeit und Unterstützung für über 100 Sprachen – dank modernster KI.
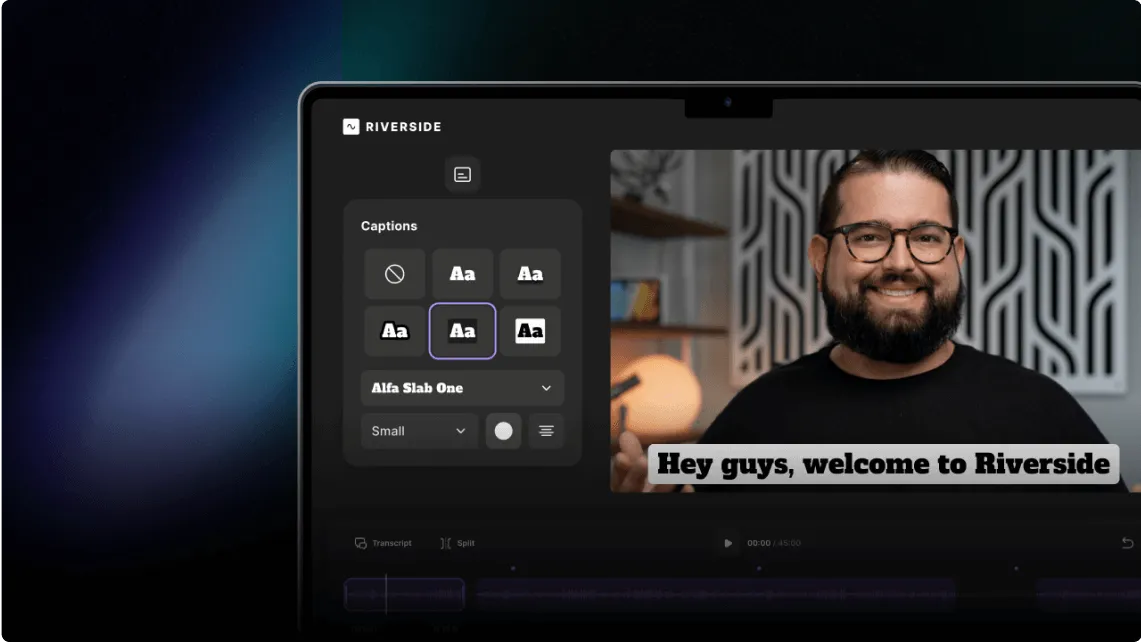
Gestalte es
Wähle einen Stil, eine Schriftart und eine Farbe, um deine Untertitel 100 % an deine Marke anzupassen, dann wähle, wie du sie ausrichten und wo du sie auf dem Bildschirm platzieren möchtest.
Teile es
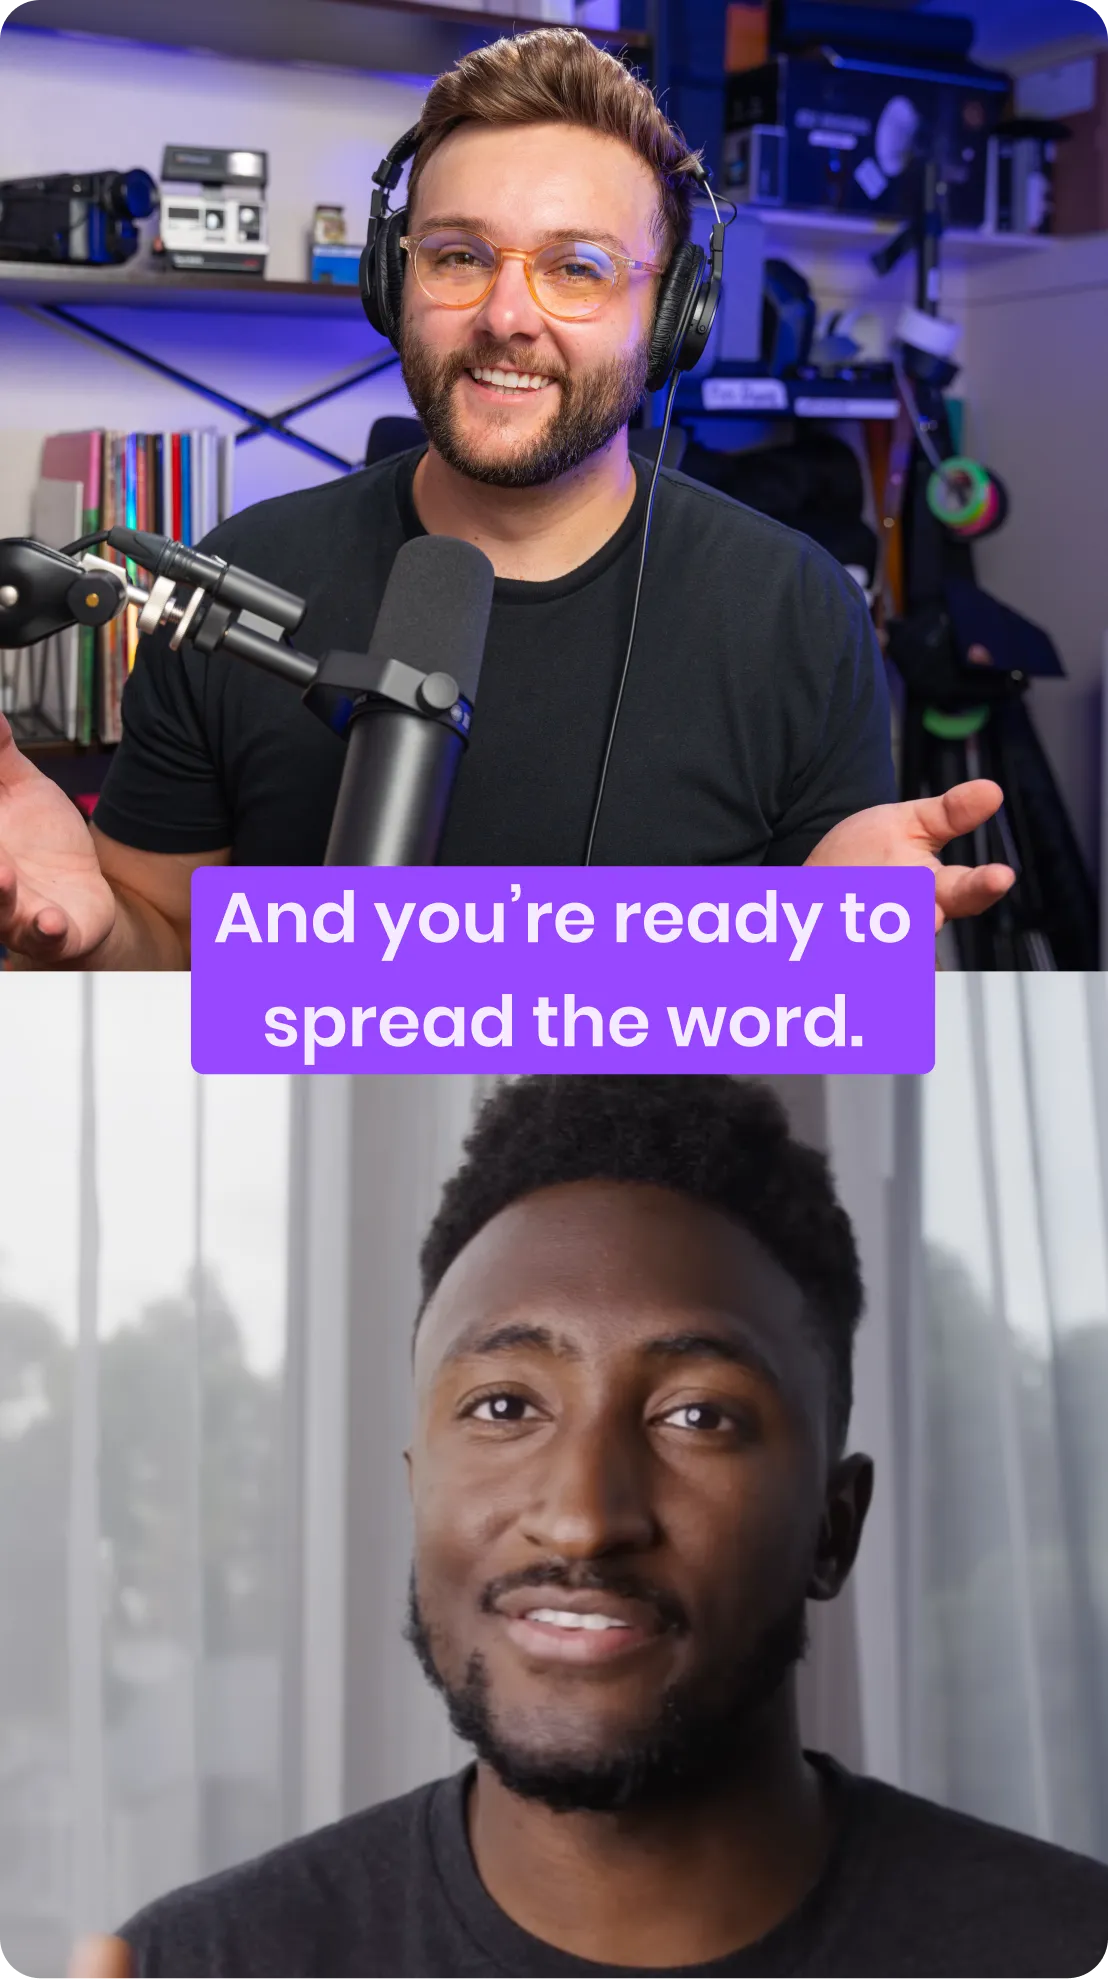
Mach mehr aus deinem Content – mit nur einem Klick passt du das Layout für Reels, TikTok, Shorts und Co. an.


.svg)

